.webp)
Terrace or rooftop garden waterproofing is the crucial process of sealing a flat roof so it can safely hold soil and plants without leaks.
A green roof (or terrace garden) is essentially vegetation atop a building, which requires layers to protect the structure below.
For example, Philadelphia’s stormwater manual describes a green roof as “a layer of vegetation that covers an otherwise conventional flat roof,” supported by layers including a waterproofing membrane, drainage, filter fabric, soil, and plants.
Without proper waterproofing, rainwater would penetrate into the building, causing damage. As the EPA notes, “the waterproofing membrane is the most critical component... [it] prohibits water from penetrating the building”.
In practice, terrace or rooftop garden waterproofing often uses PVC or EPDM rubber sheets, bituminous (tar) membranes, or liquid coatings to form a watertight barrier.
These layers extend roof life by shielding it from moisture, UV, and temperature extremes.
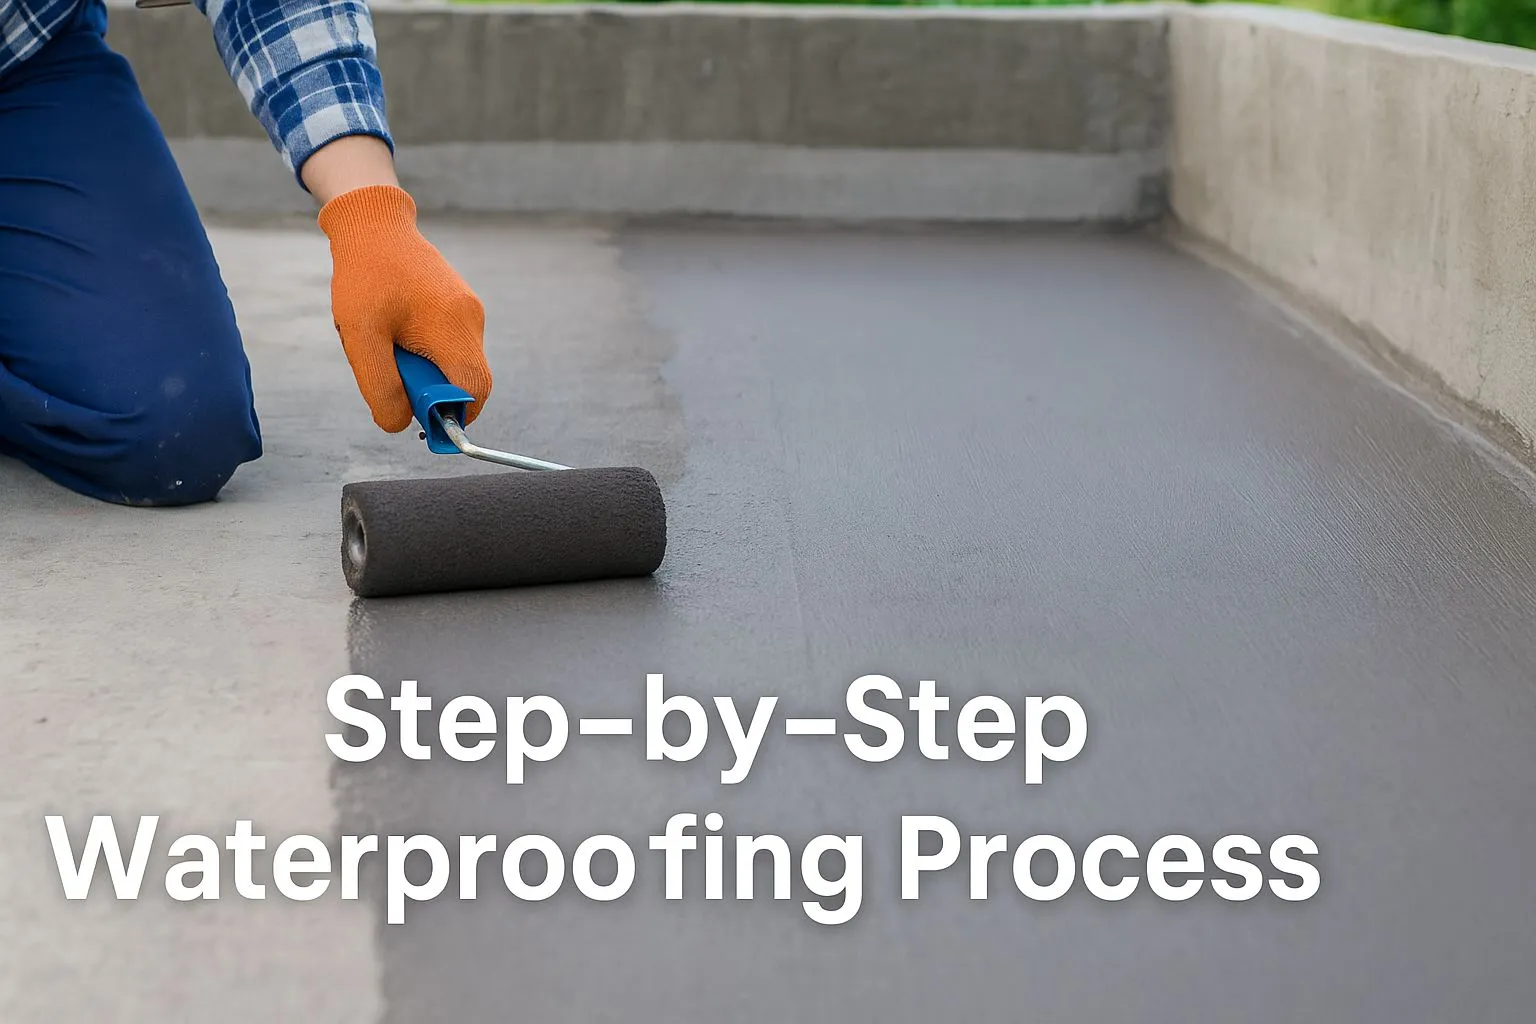
Step-by-Step Waterproofing Process
1. Inspect and Prepare the Roof Surface
Begin by cleaning the terrace or roof deck of debris, dust, and old coatings.
Check for cracks, holes, or loose tiles and repair them with cement or patching compounds. Make sure the roof slope and drains are adequate for water runoff.
A smooth, dry, and sound surface is essential before applying any waterproofing layer. This prep work prevents water from pooling and finds trouble spots early.
2. Apply Primer (if needed)
Some systems require a primer coat to help the waterproofing material bond properly.
For example, if using a cementitious or bituminous liquid, brush or roll on a layer of primer and let it dry.
Primer can also fill tiny pores in the surface, improving adhesion. (This step is less critical for some membranes like fully-adhered PVC or EPDM sheets.)
3. Install the Waterproofing Membrane
This is the core of terrace or rooftop garden waterproofing.
Choose a durable waterproofing material: common options include bituminous roofing sheets, EPDM rubber, PVC/TPO membranes, or liquid-applied sealants.
Each method has advantages.
For instance, torch-on bitumen rolls (heated with a torch) form a tough black barrier.
In this method, roll out the membrane and heat it so it bonds to the roof deck.
Alternatively, EPDM rubber sheets are often glued or ballasted, creating a seamless synthetic layer.
As one waterproofing guide explains, “green roof assembly includes a waterproofing membrane, a drainage layer, a geotextile filter fabric, growing media, and the vegetative layer”.
4. Protect the Membrane and Add Drainage
After the membrane is in place, many systems add insulation or protective boards on top.
For example, experts often build a “protected membrane roof” where rigid insulation (like XPS foam) sits above the waterproof layer.
This shields the membrane from thermal swings and physical damage. Next, add a drainage layer (gravel, plastic panels, or mats) above that.
The drain layer ensures excess water can flow to roof drains without causing hydrostatic pressure.
A geotextile filter cloth is usually placed above the drains to keep soil from clogging them.
In short, from bottom up the layers typically are: waterproof membrane, root-protection (if needed), drainage, filter fabric, engineered soil, and plants.
5. Add Soil and Plants
With the waterproofing and drainage sorted, spread a lightweight planting medium over the filter layer.
Use a mix designed for green roofs (often blended with expanded clay or shale) to reduce weight.
Plant low-profile, drought-tolerant vegetation for extensive gardens, or larger shrubs for intensive gardens, depending on structure.
Remember a root barrier or choose a membrane rated for root resistance to prevent root damage.
Finally, if needed, add erosion blankets or gravel around edges to hold soil in place until plants take root.
6. Flood-Test the Roof
Before calling the job done, test for leaks. Partially dam the drains and flood the roof with water for a short time (usually 15–30 minutes).
Any pooling or seepage indicates a breach.
This simple flood test verifies the membrane is truly watertight and spots any weak seams or holes.
After these steps, your terrace is structurally ready.
The result is terrace or rooftop garden waterproofing that holds back rain but provides a healthy environment for plants.
Also Read More Gardening Inspiration
Monsoon Secrets: Expert Care Tips For Balcony Plants In Rainy Season
Secret Guide: How to Grow and Care Lucky Bamboo at Home
Maintaining Your Rooftop Garden
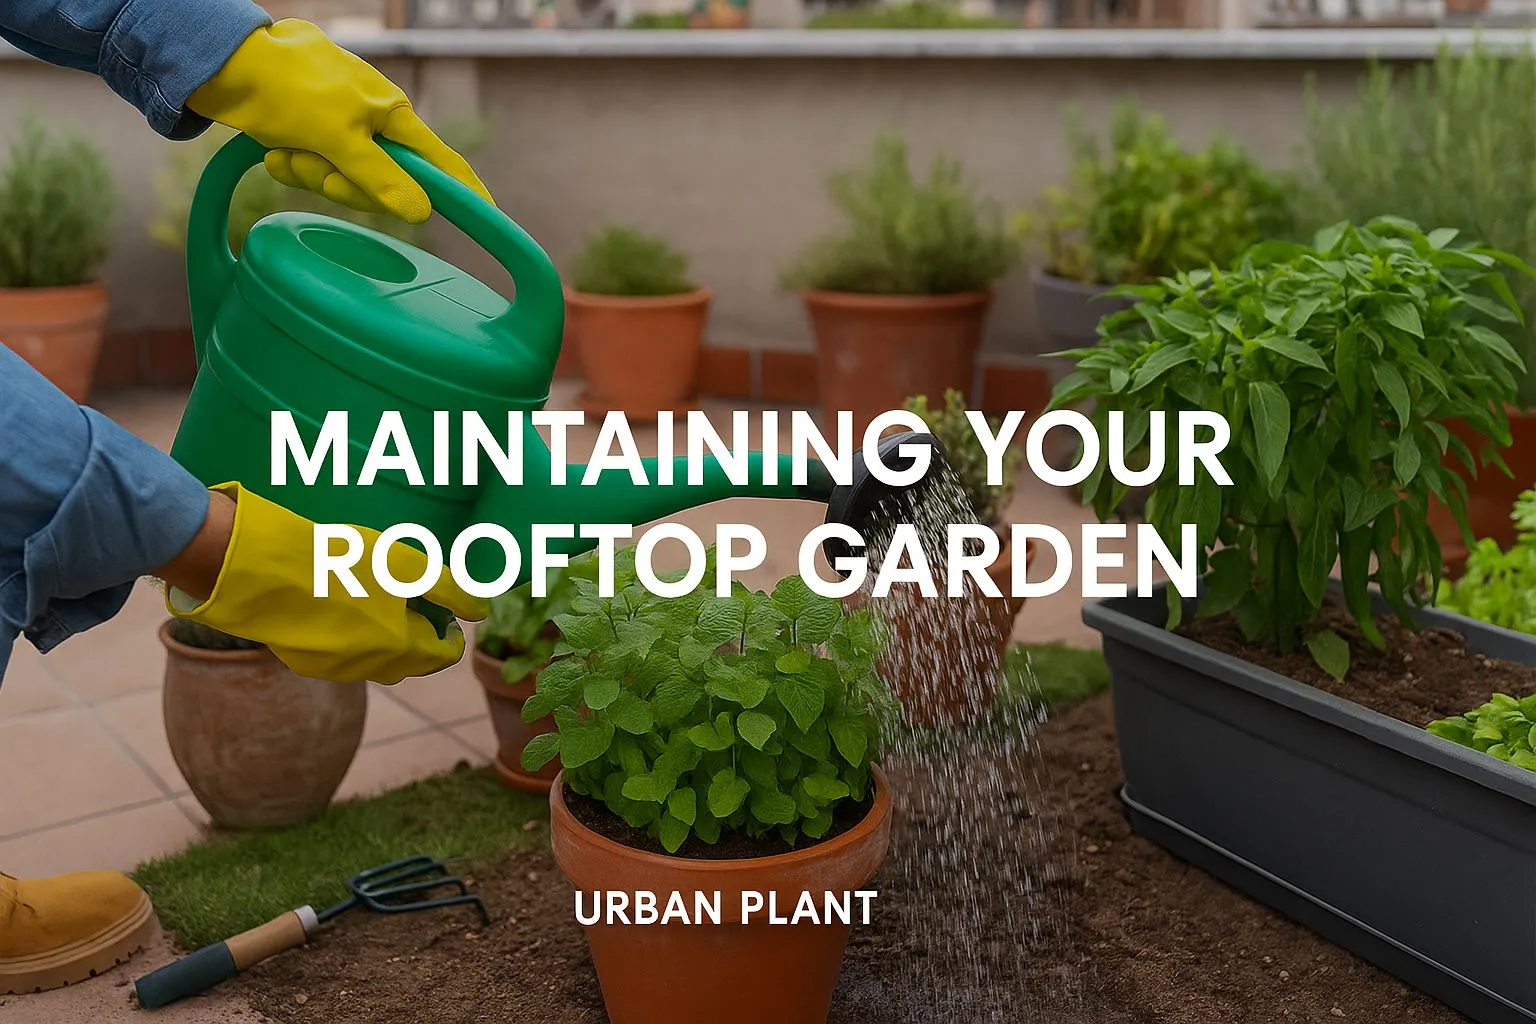
A waterproofed rooftop garden still needs regular care.
Perform seasonal inspections and clean-ups just like any garden, with special attention to the waterproof layer and drains.
In spring, check the membrane condition, ensure drains and scuppers are clear, and repair any small tears found over winter.
Test the irrigation system (if you have one) and check that any garden edging or pipes remain sealed.
In summer, remove weeds and monitor moisture – add water only as needed.
In the fall, clear fallen leaves and debris so they do not block drainage.
“Many plants go dormant in the fall, so that is a good time to clear leaves, inspect drains, and make sure materials are prepped for any freezing”.
Shut down irrigation as weather cools.
After heavy storms or in winter, always re-check for standing water or damage.
According to industry advice, “rooftops should always be reviewed after storm events for any issues,” since even good waterproofing can be compromised by debris or extreme weather.
Expert Tips and Examples

To highlight best practices, consider Chicago’s City Hall green roof (a pioneer project).
Its designers used a Sika Sarnafil loose-laid waterproofing system beneath the garden.
They laid insulation and protective boards above that membrane, then added filter fabric and soil.
The project demonstrated the layers in action: “An additional protection layer was laid on top of the roof membrane, followed by insulation, filter layer, and growing medium”.
By following these layers – insulation to shield the membrane, a filter fabric over drains, etc. – Chicago ensured long-term success.
Architecturally, placing rigid insulation above the waterproofing is a smart move; it “protects the membrane from thermal extremes, mechanical, and environmental damage during and after installation”.
When selecting materials, choose roof systems known for durability in wet conditions.
Also note: an official source outlines that green roofs can cover the entire cost of a conventional roof extension because they increase roof lifespan.
Rooftop gardens also bring other payoffs: better air quality, reduced energy use, and extra urban gardening space. But the key is the waterproofing foundation.
FAQs for Terrace or Rooftop Garden Waterproofing
How to make a rooftop waterproof for a garden?
To waterproof a rooftop for gardening, clean the surface, repair any cracks, and apply a waterproof membrane such as bitumen, EPDM, or liquid polyurethane. Follow it with a protective layer, drainage mat, filter fabric, and then the soil and plants.
What is the best method for terrace garden waterproofing?
The most reliable method includes using a high-quality waterproofing membrane (bituminous, EPDM, or PVC) with proper slope, drainage, and a root barrier layer, followed by drainage and soil systems. This multilayered approach ensures leak-proof performance and longevity.
How do you waterproof a rooftop patio?
You can waterproof a rooftop patio by applying a continuous waterproof membrane, sealing all joints, and ensuring adequate drainage. For tiled or decked patios, install a membrane beneath the surface finish and use edge flashing to prevent water seepage.
What materials are used for terrace waterproofing in rooftop gardens?
Common materials include bituminous sheets, EPDM or PVC membranes, polyurethane liquid coatings, root barrier sheets, geotextile fabric, and drainage boards. These layers work together to prevent water seepage and protect structural integrity.
How much does terrace garden waterproofing cost in India?
Terrace garden waterproofing in India typically costs between ₹40 to ₹150 per square foot, depending on materials, labor, and area. Liquid membranes are often cheaper, while multilayer systems with root barriers and drainage increase the cost but offer longer durability.
Can I waterproof my terrace garden myself?
Yes, DIY terrace waterproofing is possible for small spaces using liquid waterproofing coatings and proper layering. However, professional installation is recommended for larger terraces or long-term durability, especially when integrating drainage and root protection layers.
How do you maintain a rooftop garden long-term?
Maintain a rooftop garden by inspecting drains, checking the waterproof layer, trimming plants, and removing debris regularly. Seasonal checks after monsoons or heavy rainfall help detect any early signs of leakage or drainage blockages.
How do you test if the rooftop waterproofing is working?
A flood test is commonly used to check waterproofing. Block the drains temporarily, flood the terrace with water for 24–48 hours, and observe for seepage inside. Fix any leakage before proceeding with soil or planting.
How long does terrace waterproofing last?
Properly installed waterproofing with quality materials can last 10–20 years, depending on maintenance and climate conditions. Periodic inspections and re-application of coatings every 5–7 years can extend lifespan.
Is root barrier necessary in rooftop garden waterproofing?
Yes, root barriers are essential to prevent plant roots from penetrating the waterproof membrane, which could lead to leaks. HDPE root barrier sheets or root-resistant membranes are commonly used for this purpose.
Conclusion
By following these steps and tips, terrace or rooftop garden waterproofing becomes manageable even for beginners.
The effort pays off with a beautiful green space that’s safe for your home.
Remember: start with a rock-solid waterproof base, and the plants and people above will stay dry and healthy.


